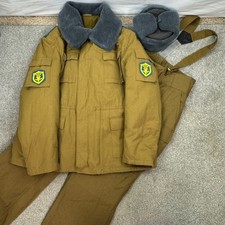
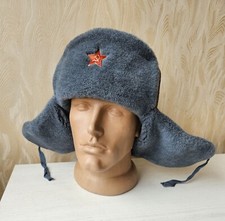
I´ve recently purchased a set of 3 undercollars. They´re quite nice and it seems they´ve been unused. The question is, how were they stitched onto the collar?
Has anybody a uniform with an undercollar still attached to it?
I wish to display them in a navy kitel and a gymnastiorka I own, but before doing anything stupid (or painful stitching work that will become useless) I´d like to see how is it done properly.
Thanks!
There's nothing in the streets
Looks any different to me
And the slogans are replaced, by-the-bye
And the parting on the left
Are now parting on the right
And the beards have all grown longer overnight The Who, Won't get fooled again
well, let´s make it more accurate. I want to know if the stitch must be near the edge of the uniform collar or near the base of it.
There's nothing in the streets
Looks any different to me
And the slogans are replaced, by-the-bye
And the parting on the left
Are now parting on the right
And the beards have all grown longer overnight The Who, Won't get fooled again
Hi Esteban, I am a WW2 Red Army re-enactor and I am used to sewing in a collar liner at every event.
Sewing in the collar liner is very easy. Just tack it in place with a simple running stitch. It does not need any fancy stitching. Just stitch it along the top edge.
The collar liner needs to show about 2mm above the edge of the collar.
Thanks Ade! That´s what I needed to know. :thumbsup
There's nothing in the streets
Looks any different to me
And the slogans are replaced, by-the-bye
And the parting on the left
Are now parting on the right
And the beards have all grown longer overnight The Who, Won't get fooled again
That would be great! Remember also to share pictures of the event with us if you can!
And have fun!:)
There's nothing in the streets
Looks any different to me
And the slogans are replaced, by-the-bye
And the parting on the left
Are now parting on the right
And the beards have all grown longer overnight The Who, Won't get fooled again
Start with the collar liner at the button hole end of the collar. Make sure it is fairly close to the button holes. Position the liner so it has the correct amount of white cloth showing above the edge of the collar. Now start sewing the liner in place with a simple running stitch. I start at the top edge and work my way towards to button end of the collar. Keep checking with each few stitches that the correct amount of liner is showing.
From the inside at the button hole end. Make sure this is close to the edge of the collar. Fold over any excess liner material and stitch it in place. Now work your way along the bottom edge of the liner going back towards the button hole end.